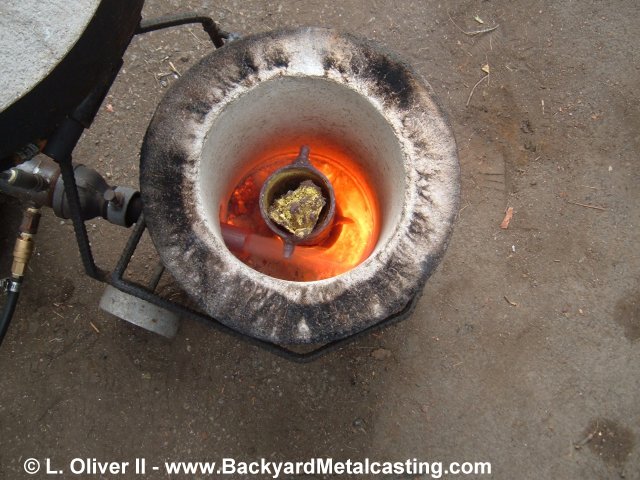
Here is a good look at the hot furnace interior. Look at the textbook swirl of the flame. It looked even more pronounced in person. This is a pure waste oil fueled flame. Notice the white vapors exiting the burner tube on the right side. This is from the oil that vaporized in the burner tube. The tube is very hot since it extends into the furnace. I've therefore designed it to be easily replaceable. Also notice the dark spot on the left across from the burner. This is where the oil droplets splatter against the furnace wall before igniting. The soot that you see along the top of the furnace was from the prior experiment. Click photo for a larger view
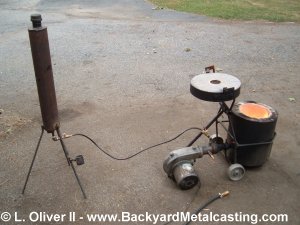
Here's a look at the entire setup for reference. This is basically just like the first test run. This test took place about a month after the first test firing in September of 2007 so I was very excited to finally fire it up again and see how it turned out. In this photo the burner is already firing on waste oil. Note that the propane hose has been disconnected and is on the ground beside the furnace.
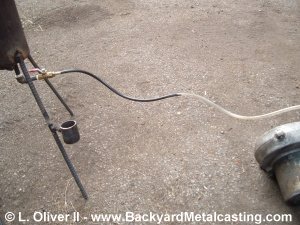
Here's a look at the oil flowing through the clear fuel line. Yes the photos are out of order...
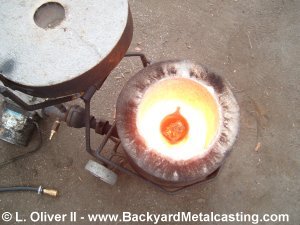
Plenty o' heat here. Notice that the propane line is detached and laying on the ground in the lower left corner of the photo. Propane was only used to preheat the furnace. Propane is just an "opening act" for waste oil's concert. So for everyone who e-mailed me asking if the HobbyMelter™ can be converted to run on oil... The answer is an complete, absolute, thorough, definite and undisputed YES! In fact with an "oil retrofitting kit" such as this I'm willing to guess that almost any gas fired furnace can be converted to oil!
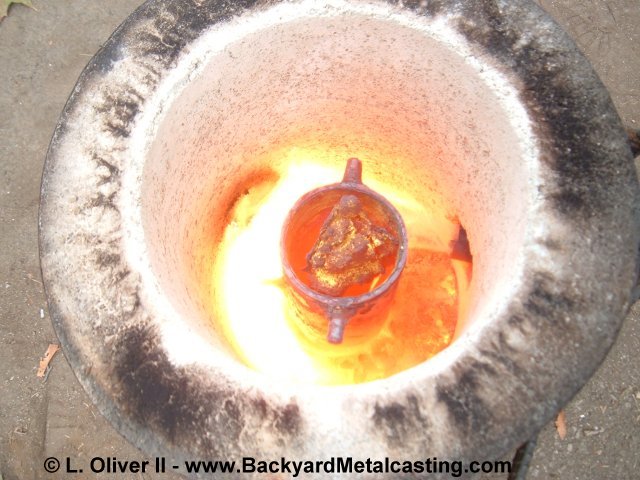
Here's a shot of the flame on low. Notice the shear volume of oil vapors blowing out of the burner. And notice how hot the tip of the burner is. At temperatures like this the air inside the burner tube is so hot that much of the oil vaporizes as soon as it's injected. Remember that this furnace has an 8" diameter chamber. The crucible is made from 3" pipe so indeed a small furnace can run on waste oil. A clump of old brass is in the crucible. It melted easily. Click photo for a larger view
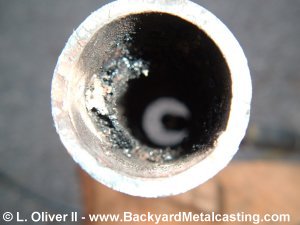
Here is the inside of the burner tube after the furnace run. Notice the buildup of soot and creosote. This is the result of the oil being injected into the back of the burner tube near the reducer coupling (refer to burner diagram on previous page). Some of the oil naturally splashes inside the tube and vaporizes inside it leaving this creosote (and therefore some fuel energy) behind. The oil injection pipe will be lengthened to extend to the tip of the burner tube like it does in The Brute burner. That way the oil will spray completely out the tube.