| Part 4: The countershaft |
Go to part; 1 -- 2 -- 3 -- 4 -- 5 -- 6 -- 7 -- 8 |
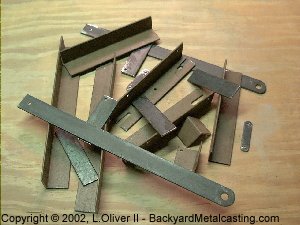 |
Here is a pile of the necessary metal cut to size to make the countershaft. Mainly just angle iron that I've scavenged from discarded bed frames. |
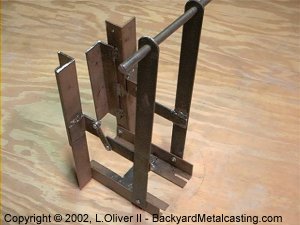 |
After welding together some scraps of metal the countershaft is taking shape! While Dave Gingery riveted his assembly together he does mention that welding is much faster (no argument there). I actually super glued the parts together then welded them! No clamps needed! You heard it here from The Lab... |
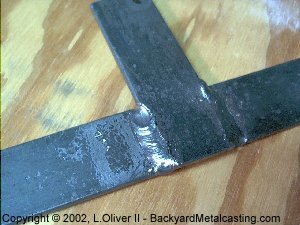 |
My welding seems to be improving! Of course this is the best weld on the entire thing and I'm not showing you the others! |
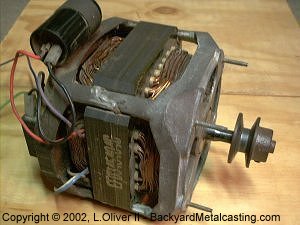 |
I got this perfectly good 1/2 hp 1725 rpm washing machine motor from a working washing machine! Forget clean clothes I need a lathe! Actually my neighbor left the washing machine outside for her daughter to pick up and take home. I thought she was actually discarding it so I inquired and she told me that I can have it if her daughter doesn't come within the next few days. Lucky me, she never showed up! Ha! guess her daughter likes the washboard method... |
The motor was used vertically (with the shaft and pulley pointing down) in the washing machine so there are no mounting parts suitable for my lathe application. So I had to make a motor mount. I was going to weld an assmebly together from scraps but then I figured I might as well make a pattern and cast it just in case I get my hands on another similar motor. |
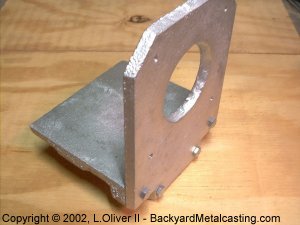 |
Here is the finished motor mount. Its made up of two castings. I based it on a similar mount that I made from wood while using this motor on a homemade wood lathe. In case you're wondering, I've dismantled the wood lathe it wasn't accurate at all (I guess that's what happens when you try to weld the spindle together...) |
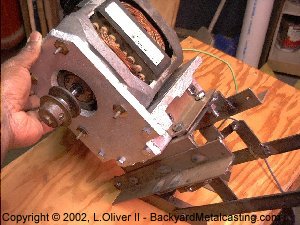 |
Here is the motor in place on the 2-piece motor mount and a look at the way I mounted it on the countershaft. Those are 3/8-16 bolts going into the countershaft. |
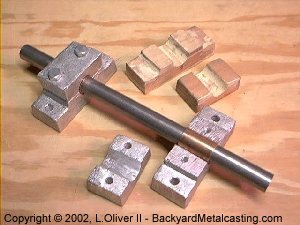 |
This is a look at the countershaft's bearings. I just cast some aluminum bearings from the patterns shown. If you look closely you'll see that there is a copper "bushing" in the bearing. This is actually a coupling for 1/2" copper plumbing pipe! Click photo for a larger image! |
The outer diameter of 1/2" copper pipe is 5/8" (the same as the shaft I'm using) therefore the inner diameter a the coupling is 5/8" also. Making it a perfect improvised bushing! All I had to do was file out the small nub that stops the pipes from entering too far. This should last at least until I locate or learn to machine bronze bushings or maybe I'll leave it. |
Click photo for a larger image!
 |
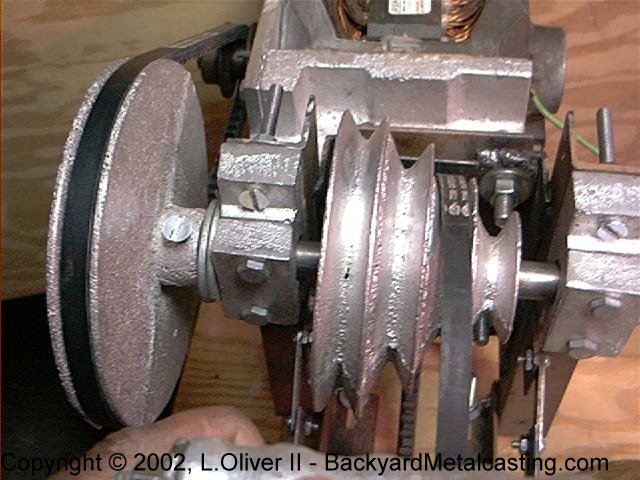
You can see the pulleys (I cast them myself!) in place on the countershaft here. I purchased the belt connecting the motor to the outboard (the 6") pulley from an auto parts store. They refer to them as fan belts. They are 3/8" wide rather than 1/2" (which the pulleys are sized for) but that's no big deal, the belts just slide a bit deeper into the pulley grooves. Once the lathe is far enough along I'll cast new pulleys and clean them up on the lathe and replace these. |
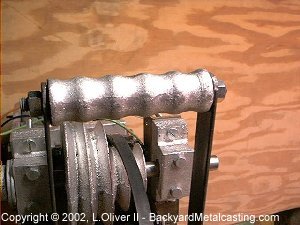 |
Being that I'll need to grab the countershaft's release handle to change belt speeds I figured that I might as well cast a nice one so I can switch speeds in comfort and style. The pattern was a piece of the handle of a battered umbrella that I found abandoned in a parking lot after a strong rain storm. I just had to have that handle! |
Click photo for a larger image!
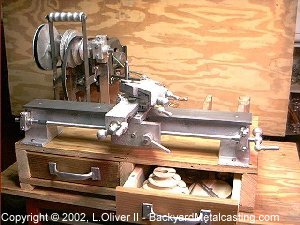 |
Here you can see the lathe's progress. I've built a small stand for it which has two drawers for lathe related parts and accessories. It's built mainly from 3/4" plywood and scrap 2 X 4 lumber. I was planning to just use regular screws as cheap drawer pulls but I decided to go all out and treat myself... So I went to the dollar store and bought these folded sheetmetal drawer pulls! Part 5; the headstock! |
| Part 4: The countershaft |
Go to part; 1 -- 2 -- 3 -- 4 -- 5 -- 6 -- 7 -- 8 |