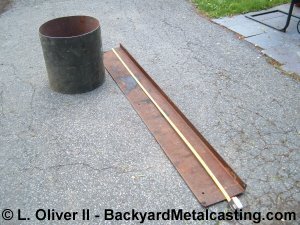
Here is a section of 1/8" thick steel plate that has been lying around and I've determined that it is good material for fabricating the base from. I'll just have to make the base in sections.
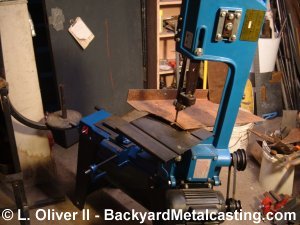
I cut two 18" long sections of the plate then traced the furnace shell diameter onto them. After that I began cutting out the traced lines. I did all of the cutting with my small imported bandsaw. These "mini-bandsaws" are available from a variety of companies and the prices usually range from $179.00 to $209.00. It is far from heavy duty but after it's adjusted correctly it can sure do the job for hobby and maybe some medium duty work.
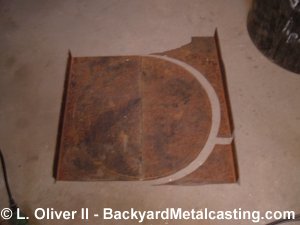
Here is one half of the base circle cut. A jigsaw with metalcutting blade can do this also but I didn't have that at the time.
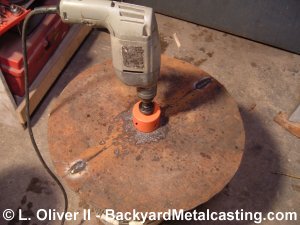
With the bandsaw I cut the two half circle shapes which are now just tack welded together at the ends. I'll weld the full length of the seam later. I used this holesaw to cut a 2" diameter hole in the center of the base so I can form the furnace drain hole in case a crucible breaks or spills. My experience indicates that a hole less than 2" diameter will clog. I've found cooking oil to be a good cutting lubricant. I use used cooking oil.
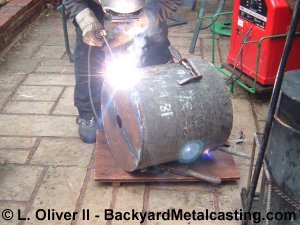
Here I am welding the base onto the shell. In the bottom right corner you can see part of my current furnace built in 2003.
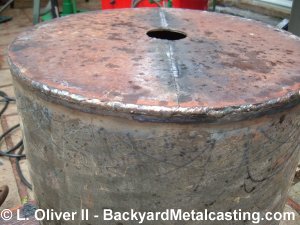
Here is the base welded into position. I welded all around. That's more than necessary but I think it looks better. You probably noticed that the seam connecting the two halves of the base looks unwelded. It's welded on the inside of the furnace. I want the base as flat as possible so there is no weld bead on the outside.
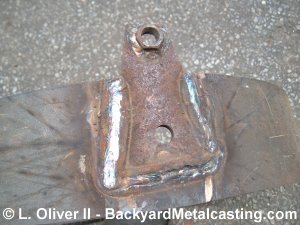
Here are the flanges that will be used for raising the lid. They are triangles of 1/8" steel plate welded in place. The top hole will connect to the lid lifting arm mechanism and has a nut welded on for extra reinforcement. The middle hole will accept the reinforcing ring that will pass through the refractory in the lid to support it.
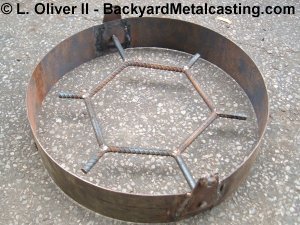
Here is the welded support ring which reinforces and supports the refractory in the lid. The refractory is tamped and molded in all around this ring and the ring is the internal "skeleton." I like this internal support skeleton method better than weaving wire through the lid as is commonly done with small furnaces. And with a furnace as large as this one it is far stronger.
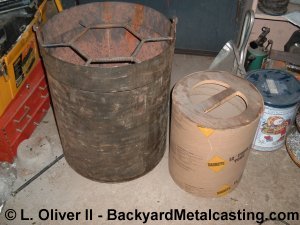
At last I've completed the body and lid and can install the refractory. The central form is next to the shell. This furnace will have a 12" diameter chamber 15" deep. My previous furnace was 10" diameter and the same depth. But since this body shell is larger I'll have 3" thick refractory walls. And as mentioned before I'm using 3,000 degree F. refractory since this furnace will be used mainly for ironcasting. And as I learned already cheap refractory won't cut it! The conclusion is on it's way...